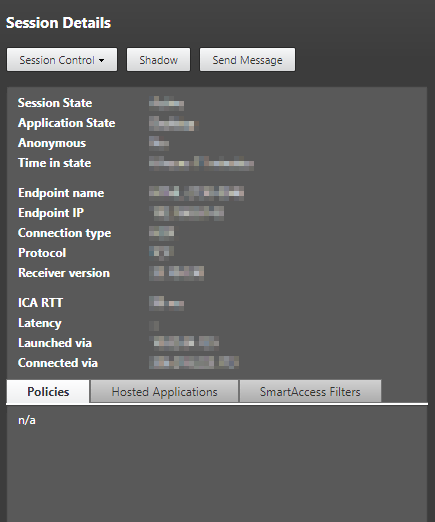
If you open up Citrix Director and notice the Policies tab under Session Details for a particular VDA workstation is blank or shows n/a, it means that either you have no policies defined for that particular user or workstation, or Group Policies are not processing properly.
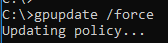
This is usually caused by a corrupt Registry.pol file on the workstation. Log into the workstation in question as Administrator, locate the Registry.pol file (usually in C:\windows\System32\GroupPolicy\Machine) and delete it. Then open up a Command Prompt and type in “gpupdate /force” and hit enter. This will force an immediate update of the policies.
If the policies for the workstation are defined in the Citrix Group Policy console, you will need to locate these folders and delete all files and folders underneath:
To troubleshoot authentication with aaad.debug module, complete the following procedure:
Connect to Citrix ADC (NetScaler) Gateway command line interface with a Secure Shell (SSH) client such as PuTTY.
Run the following command to switch to the shell prompt: shell
Run the following command to change to the /tmp directory: cd /tmp
Run the following command to start the debugging process: cat aaad.debug
Perform the authentication process that requires troubleshooting, such as a user logon attempt.
Monitor the output of the cat aaad.debug command to interpret and troubleshoot the authentication process.
7. Stop the debugging process by pressing Ctrl+Z.
Run the following command to record the output of aaad.debug to a file: cat aaad.debug | tee /var/tmp/<debuglogname> Where /var/tmp is the required directory path and <debuglogname.log> is the required log name.
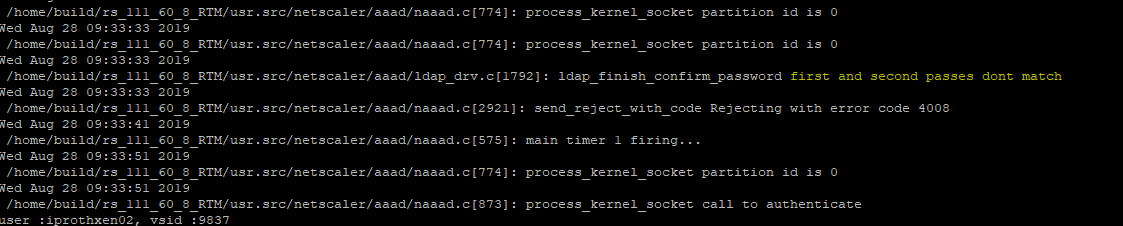
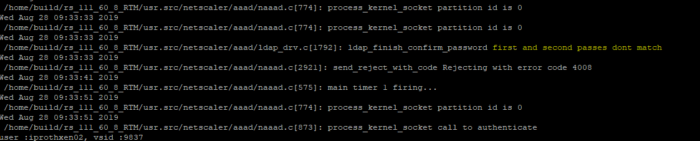
The output usually gives you a pretty good idea of what is going on. In this particular screenshot, I had a user who was trying to use the Citrix ADC change password feature. The output states that the first and second passwords do not match. I later discovered that Citrix ADC doesn’t do a validation check on the passwords, for matching or for complexity, so the user can put in different passwords or a password that doesn’t meet the environment’s complexity requirements and it will simply silently fail.
One of the first things users ask for when being migrated to Citrix Virtual Apps, is where is Windows Explorer? In this post I will show how to setup Windows Explorer in Citrix Virtual Apps. Depending on your companies security policies, you may or may not want users having the ability to launch Windows Explorer from a Citrix Server on the corporate network. Check with your security department before deploying this.
In Citrix Studio click on Delivery Groups:
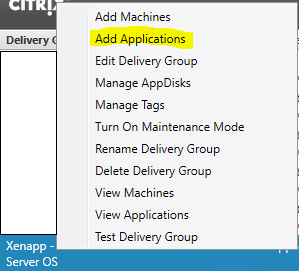
Find the delivery group you wish to add the application to and right-click, go to Add Applications:
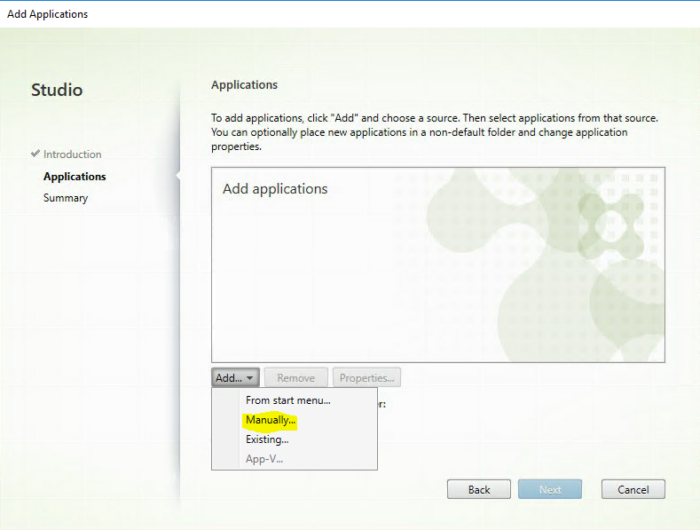
Click Next past the Intro screen if you see and get to the Applications screen. Click the down arrow on the Add button and select Manually…
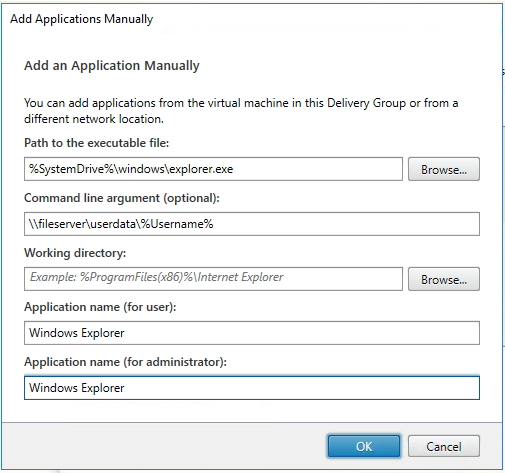
In the Path to the executable file: field, type in %SystemDrive%\windows\explorer.exe (Note: depending on how you have your system setup, you may not get away with using variables in the path, you may need to put the absolute path in this field such as c:\windows\explorer.exe.)
In the Command line argument (optional): field, put the path to the folder you wish Windows Explorer to open to initially. The example I give opens the window on the user’s home directory: \\fileserver\userdata\%Username% In the name fields, give the application whatever name you like. The Application name (for user): field will be the name that shows up on the icon in Storefront.
Click Ok > Next and Finish When the user logs into Storefront they will see this icon:
Note: if you have an issue where Windows Explorer starts to launch, but then shuts down, you may need to adjust the LogoffCheckerStartupDelayInSeconds registry setting on VDA you are publishing from:
This article shows how to configure a client machine to point to specific Remote Desktop Licensing servers. A client machine will need to access an Remote Desktop Services (RDS) license server if it brokering more than two remote connections at a time. This includes Citrix Virtual Apps (formerly known as Xenapp) as Citrix connections also require a RDS license for remote connections.
First off this can and should be done through Active Directory Group Policy. The example I show below uses the local group policy editor, but the settings are the same whether you are using an AD GPO or local GPO.
Open up the Local Group Policy Editor. Go to Start Run > gpedit.msc Navigate to Computer Configuration\Administrative Templates\Windows Components\Remote Desktop Services\Licensing.
There are two settings that must be configured: 1: Use the specified Remote Desktop license servers 2: Set the Remote Desktop Licensing Mode
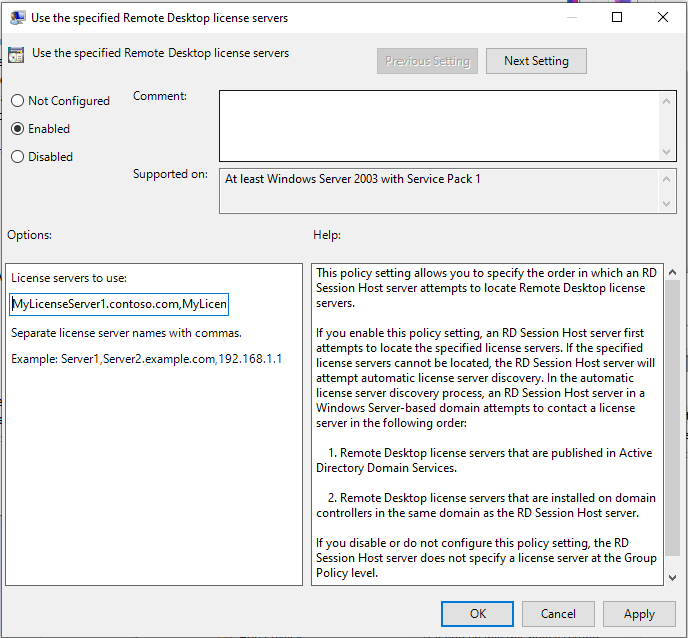
Open up the first one “Use the specified Remote Desktop license servers”
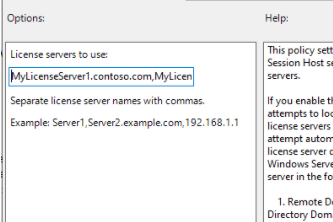
Check the Radio Button next to “Enabled” then input one or more license servers into the field “License servers to use:” Although not necessary, it’s best to put the FQDN for the server(s). Separate the server names by commas if using more than one. (Note: don’t worry about every license server having the particular OS version of license you need. The system will check each license server in the list until it finds the proper license. It’s best to put all the license servers in your environment into the list as administrators will most likely be updating the license servers over time.)
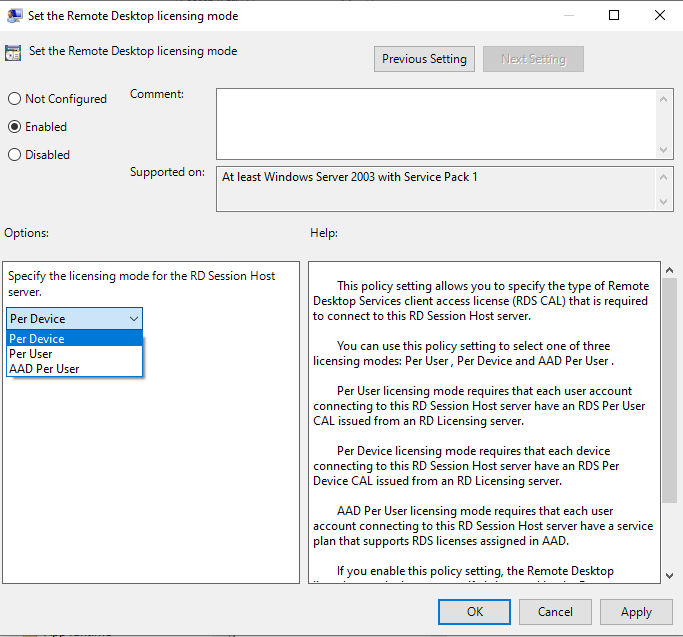
Click Ok when finished and open up the second setting “Set the Remote Desktop Licensing Mode”Check the Radio Button next to “Enabled” and then choose the license type from the dropdown. If you don’t know which license type to use, check with the person who administers the license servers.
Click Ok.
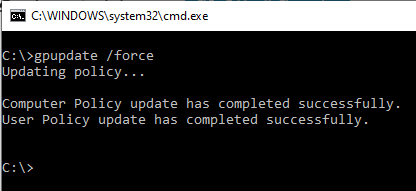
Now open up a command prompt as administrator and type gpupdate /force to update the policies.
If you are configuring this through Active Directory GPO, then you would link the GPO to the OU in Active Directory where the particular machine account of the machine needing licenses lives.
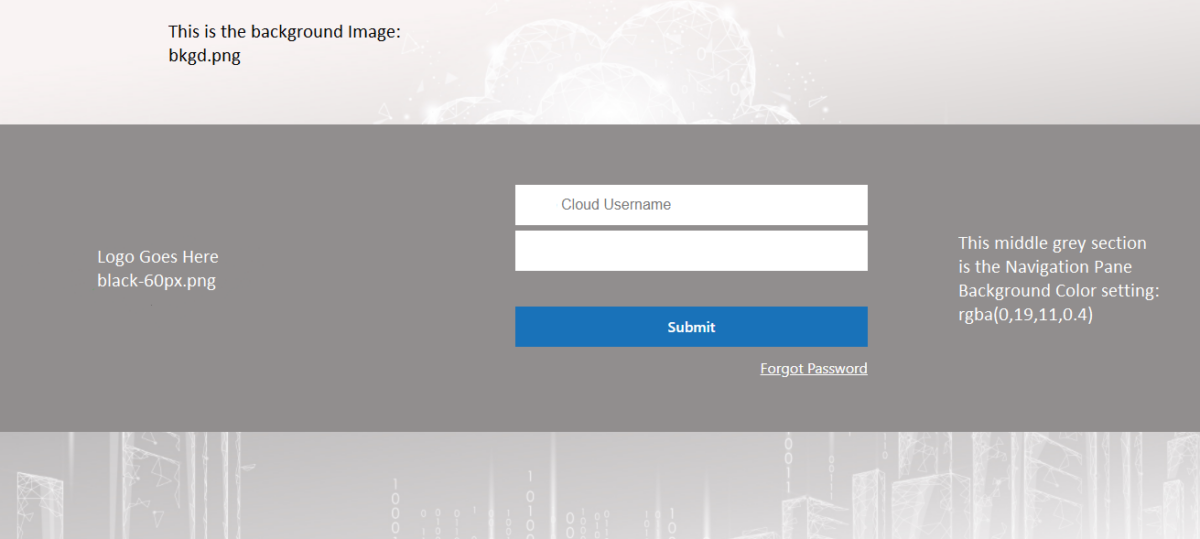
I was asked once by the marketing department at the company I worked for to customize the Citrix ADC login page. They were trying to standardize their branding across all areas of the company. I found some of the customizations to be fairly easy, others were not. This is a sample of the changes I made. There are many more you can do. I removed the company logo and the file names for security reasons:
To Setup a Custom Portal Theme inCitrix ADC (Netscaler)
Before creating a custom theme, if a Global Theme has been established, you must unbind the ADC(Netscaler) Gateway Global Settings first: Go to Gateway>Global Settings>Client Experience Tab. Scroll down to UI Theme and set to Default then you can set the custom portal themes for each Virtual Server.
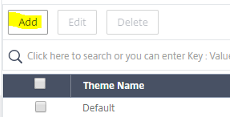
Creating a New Theme: 1: Log into ADC Primary Node and go to Citrix Gateway > Portal Themes 2: On the Portal Themes Page click Add:
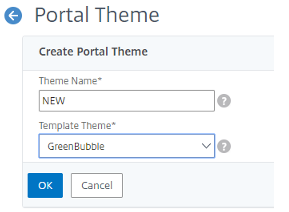
3: Give the new Portal Theme a name and select a Template:
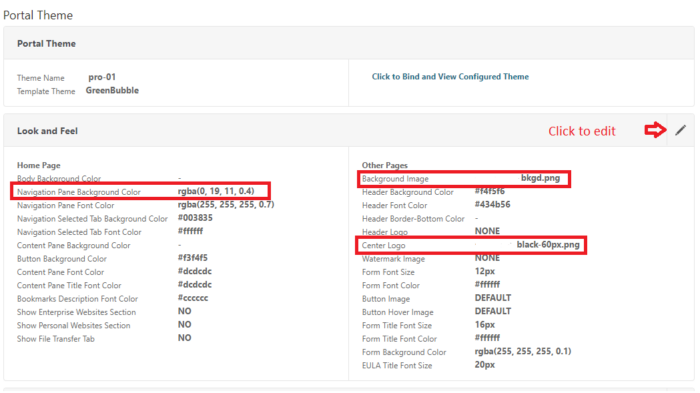
4: On the Look and Feel Section are majority of settings you can adjust. I highlighted the ones that correspond to my portal image above. Click the edit button to change any of the settings:
5: Click OK when finished. 6: Once the Theme has been created, it needs to be bound to Citrix Gateway Virtual Server. Go to Citrix Gateway > Virtual Servers select the Virtual Server and click Edit:
7: Scroll down to Portal Theme and click the Edit button: (If there currently no theme established, Portal Theme will not show up. You will have to click Portal Themes on the right-hand side of the page under Advanced Settings)
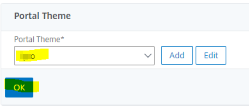
8: Drop down to select the Portal Theme you created and click OK:
Important Note: Before you perform an upgrade of Citrix ADC (Netscaler) unbind any custom themes first, perform the upgrade and rebind your themes. Upgrades will usually crash on custom themes.
To update the browser tab icon:
Log into the each Citrix ADC Command Line Interface in your cluster or use an SSH tool such as WinSCP and replace the /netscaler/ns_gui/vpn/images/AccessGateway.ico file with a new image file with the identical name.
We use cookies on our website to give you the most relevant experience by remembering your preferences and repeat visits. By clicking “Accept”, you consent to the use of ALL the cookies.
This website uses cookies to improve your experience while you navigate through the website. Out of these, the cookies that are categorized as necessary are stored on your browser as they are essential for the working of basic functionalities of the website. We also use third-party cookies that help us analyze and understand how you use this website. These cookies will be stored in your browser only with your consent. You also have the option to opt-out of these cookies. But opting out of some of these cookies may affect your browsing experience.
Necessary cookies are absolutely essential for the website to function properly. These cookies ensure basic functionalities and security features of the website, anonymously.
Cookie
Duration
Description
cookielawinfo-checbox-analytics
11 months
This cookie is set by GDPR Cookie Consent plugin. The cookie is used to store the user consent for the cookies in the category "Analytics".
cookielawinfo-checbox-functional
11 months
The cookie is set by GDPR cookie consent to record the user consent for the cookies in the category "Functional".
cookielawinfo-checbox-others
11 months
This cookie is set by GDPR Cookie Consent plugin. The cookie is used to store the user consent for the cookies in the category "Other.
cookielawinfo-checkbox-necessary
11 months
This cookie is set by GDPR Cookie Consent plugin. The cookies is used to store the user consent for the cookies in the category "Necessary".
cookielawinfo-checkbox-performance
11 months
This cookie is set by GDPR Cookie Consent plugin. The cookie is used to store the user consent for the cookies in the category "Performance".
viewed_cookie_policy
11 months
The cookie is set by the GDPR Cookie Consent plugin and is used to store whether or not user has consented to the use of cookies. It does not store any personal data.
Functional cookies help to perform certain functionalities like sharing the content of the website on social media platforms, collect feedbacks, and other third-party features.
Performance cookies are used to understand and analyze the key performance indexes of the website which helps in delivering a better user experience for the visitors.
Analytical cookies are used to understand how visitors interact with the website. These cookies help provide information on metrics the number of visitors, bounce rate, traffic source, etc.
Advertisement cookies are used to provide visitors with relevant ads and marketing campaigns. These cookies track visitors across websites and collect information to provide customized ads.