Assembly Instructions
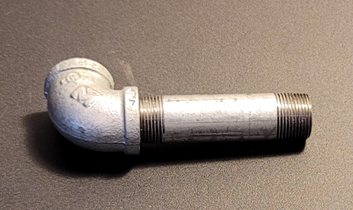
STEP ONE
Connect one of the elbows with one of the 4” Pipes (Nipples) and hand tighten as tight as possible wearing your gloves. Remember righty tighty, lefty loosey.
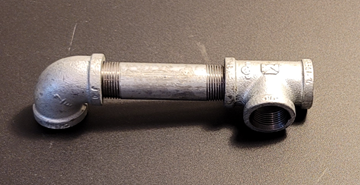
STEP TWO
Connect the Tee to the other end of the 4” pipe and hand tighten as tight as possible with the middle opening of the Tee at a 90 degree angle to the elbow. The elbow will face down toward the table.
STEP THREE
Connect a second 4” pipe to the other end of the Tee and hand tighten as tight as possible.

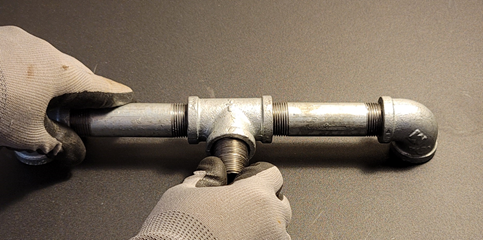
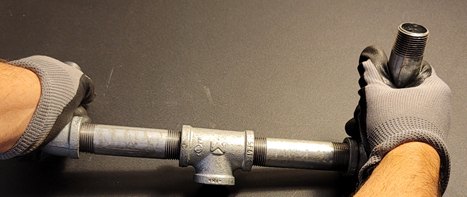
STEP FOUR
Connect the second elbow to the end of the 4” pipe and tighten as tight as possible while keeping the two elbows facing the same direction downward and the Tee perpendicular to the elbows. If necessary temporarily attach the remaining two pipes to the elbows (as shown) to give yourself more leverage. The trick is to get the three fittings as tight as possible and still keep them oriented in the correct positions. If you have one fitting that you cannot get into the correct position and maintain tightness, put a little epoxy on the threads. Once dried, it will hold the fitting in place.
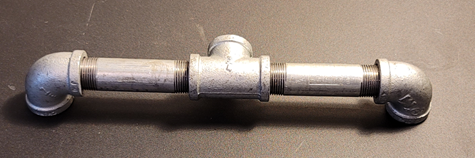
STEP FIVE
Connect the ¾” Close into the Tee and hand tighten. Be sure to wear your gloves especially at this step because the threads on those ¾” Nipple Closes can have some serious metal burrs sometimes.