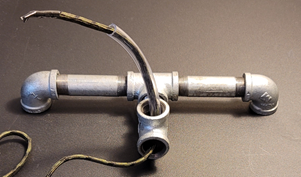
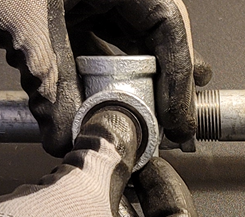
STEP SIX
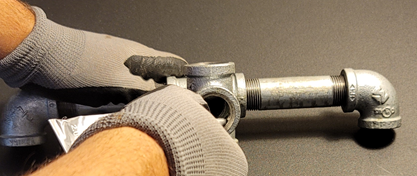
Attach the “Cross” to the ¾” Nipple Close and hand tighten. Again you can temporarily attach one of the remaining 4” pipes to the Cross to get more leverage to tighten. The Cross should be tightened so that one open end points straight up, one points straight down toward the table and one points straight to the rear of the assembly as shown.

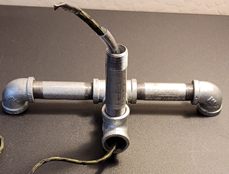
STEP SEVEN
Install the rubber grommet. The purpose of the rubber grommet is to keep the lamp cord snug and prevent it from rubbing against the raw threads of the Cross coupler. Apply epoxy glue to the inside threads of the rear of the Cross
Insert the rubber grommet and let dry
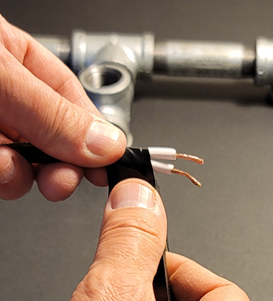
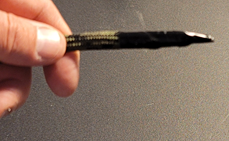
STEP EIGHT
Apply electrical tape to the end of the Lamp Cord and form a taper. Don’t pile the tape on too thick or the cord will not fit through the grommet.
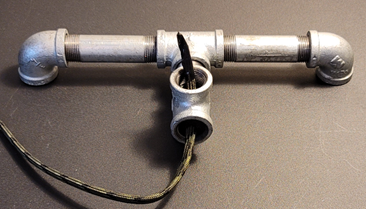
STEP NINE
Bend about a 2” hook in the end of the lamp cord and fish it through the grommet and through the top of the Cross. Use needle-nose pliers if necessary, just make sure not to damage the cable or it could cause a short. Pull the cable through the Cross about 8” to 10” to give enough slack for the next step.

STEP TEN
Slide the plastic tube over the cord then slide one of the 4” pipes over the cord and tube. Hand tighten the pipe as tight as possible.