
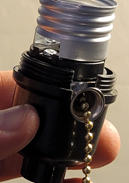
STEP SIXTEEN
Once you’ve connected the wires to the connectors, gently pull the lamp cord so that the lamp socket fits down in the bottom housing. Make sure the pull chain is lined up with its opening in the housing.
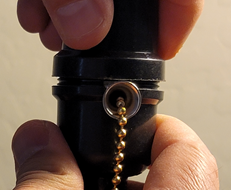
STEP SEVENTEEN
Gently pull on the lamp cord from the back of the lamp until the slack is gone and the lamp socket housing fits snuggly into the 1” to ¾” reducer coupler
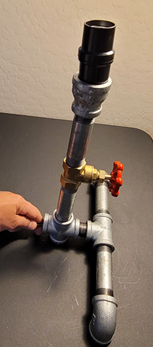
STEP EIGHTEEN
Hold the lamp socket upright in the reducer coupler with one hand and use a hot glue gun to run a couple of spots of hot glue to hold the lamp socket in place until you can glue it with epoxy. You may be tempted just to use hot glue all the way around and leave it at that, but it won’t last. Hot glue does not stick to metal for very long which is why I just use it to hold the pieces together until the epoxy dries.
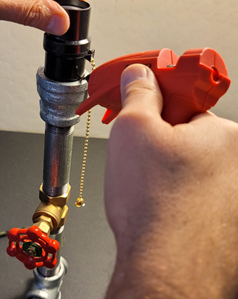
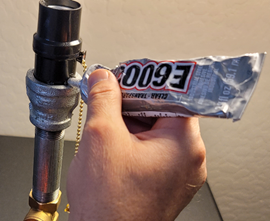
STEP NINETEEN
Run a bead of epoxy glue around the outside of the plastic lamp socket housing to the metal coupler, like you’re caulking a bathtub. Let the epoxy completely dry, preferably overnight before attaching the light bulb.
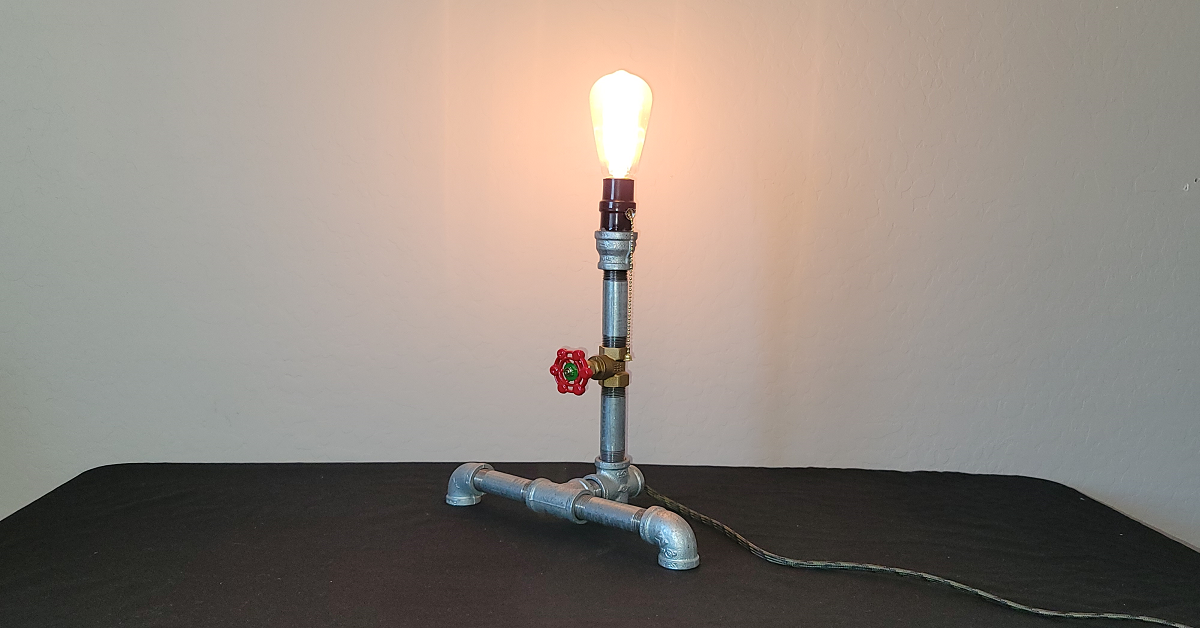
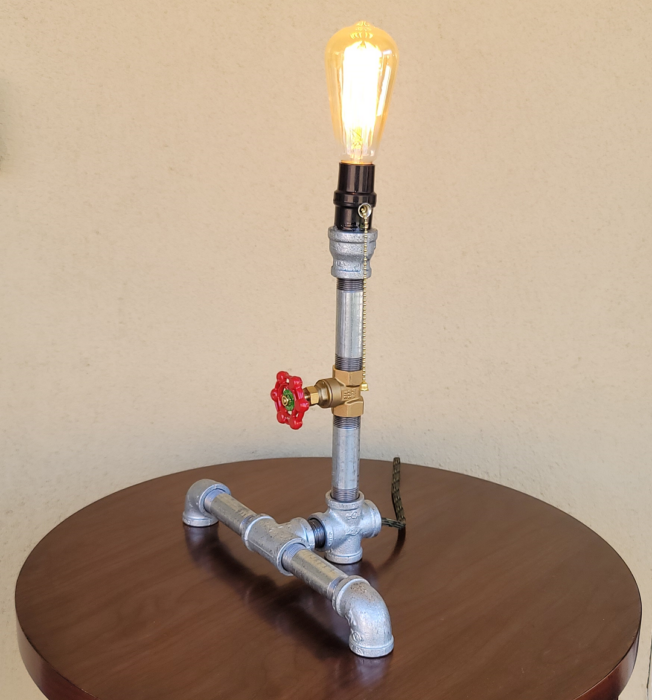
STEP TWENTY
Screw in the Edison Bulb, plug the lamp into the electrical outlet and pull the lamp socket chain, and if all goes right you should see this:
If you’re concerned about the lamp scratching your table, attach some 1″ furniture pads to the bottom: