
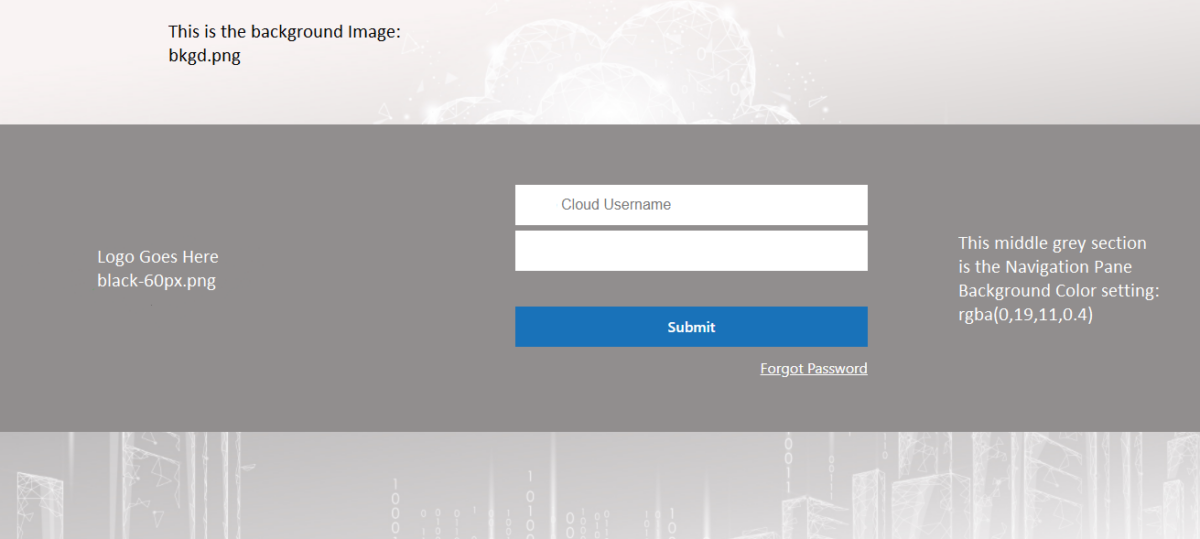
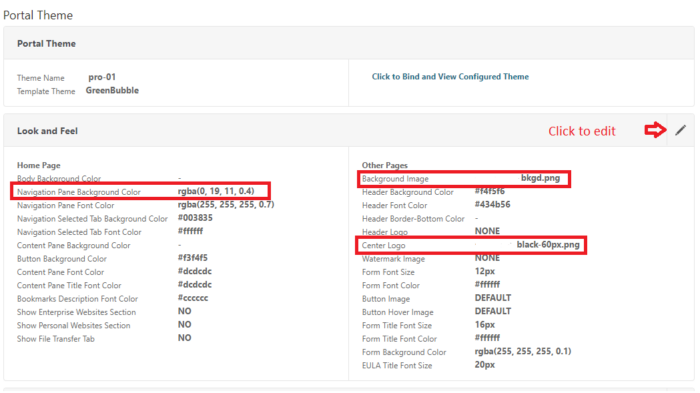
I was asked once by the marketing department at the company I worked for to customize the Citrix ADC login page. They were trying to standardize their branding across all areas of the company. I found some of the customizations to be fairly easy, others were not. This is a sample of the changes I made. There are many more you can do. I removed the company logo and the file names for security reasons:

To Setup a Custom Portal Theme in Citrix ADC (Netscaler)
Before creating a custom theme, if a Global Theme has been established, you must unbind the ADC(Netscaler) Gateway Global Settings first:
Go to Gateway>Global Settings>Client Experience Tab. Scroll down to UI Theme and set to Default then you can set the custom portal themes for each Virtual Server.
Creating a New Theme:
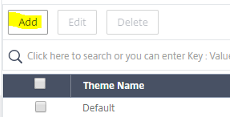
1: Log into ADC Primary Node and go to Citrix Gateway > Portal Themes
2: On the Portal Themes Page click Add:
3: Give the new Portal Theme a name and select a Template:
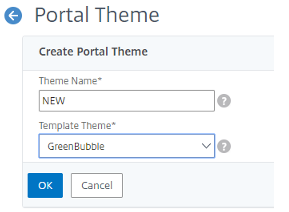
5: Click OK when finished.
6: Once the Theme has been created, it needs to be bound to Citrix Gateway Virtual Server. Go to Citrix Gateway > Virtual Servers select the Virtual Server and click Edit:

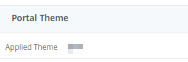
7: Scroll down to Portal Theme and click the Edit button: (If there currently no theme established, Portal Theme will not show up. You will have to click Portal Themes on the right-hand side of the page under Advanced Settings)

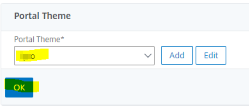
8: Drop down to select the Portal Theme you created and click OK:
Important Note: Before you perform an upgrade of Citrix ADC (Netscaler) unbind any custom themes first, perform the upgrade and rebind your themes. Upgrades will usually crash on custom themes.
To update the browser tab icon:
Log into the each Citrix ADC Command Line Interface in your cluster or use an SSH tool such as WinSCP and replace the /netscaler/ns_gui/vpn/images/AccessGateway.ico file with a new image file with the identical name.