
One of the first things users ask for when being migrated to Citrix Virtual Apps, is where is Windows Explorer? In this post I will show how to setup Windows Explorer in Citrix Virtual Apps. Depending on your companies security policies, you may or may not want users having the ability to launch Windows Explorer from a Citrix Server on the corporate network. Check with your security department before deploying this.
In Citrix Studio click on Delivery Groups:

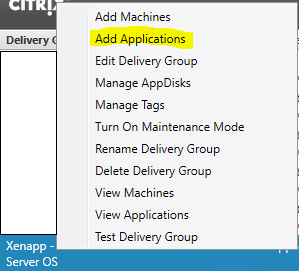
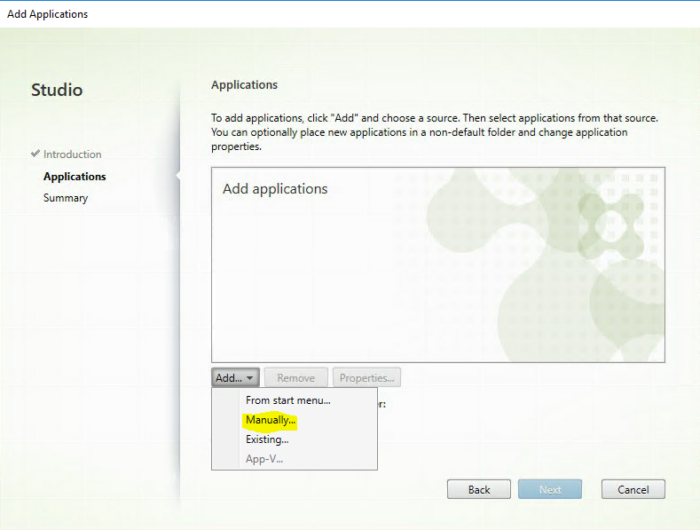
Click Next past the Intro screen if you see and get to the Applications screen. Click the down arrow on the Add button and select Manually…
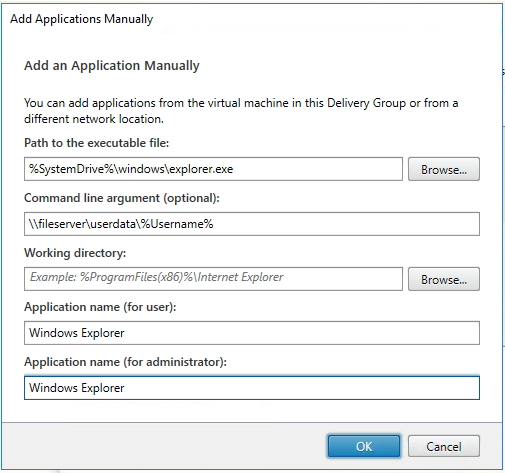
In the Path to the executable file: field, type in %SystemDrive%\windows\explorer.exe (Note: depending on how you have your system setup, you may not get away with using variables in the path, you may need to put the absolute path in this field such as c:\windows\explorer.exe.)
In the Command line argument (optional): field, put the path to the folder you wish Windows Explorer to open to initially. The example I give opens the window on the user’s home directory: \\fileserver\userdata\%Username%
In the name fields, give the application whatever name you like. The Application name (for user): field will be the name that shows up on the icon in Storefront.
Click Ok > Next and Finish
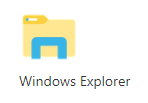
When the user logs into Storefront they will see this icon:
Note: if you have an issue where Windows Explorer starts to launch, but then shuts down, you may need to adjust the LogoffCheckerStartupDelayInSeconds registry setting on VDA you are publishing from:
HKEY_LOCAL_MACHINE\SYSTEM\CurrentControlSet\Control\Citrix\wfshell\TWI
Value Name: LogoffCheckerStartupDelayInSeconds
Type: REG_DWORD (increase decimal value, I increased mine to 258)